Segments
Segmenting is an important feature of the Customerscore.io application, and setting it up properly can make working with customers much easier. It helps you identify groups of customers with specific characteristics, which is especially useful if your company has many customers. Segmenting allows you to manage these groups more efficiently, saving you time and effort. With just a few clicks, you can focus on exactly what interests you. So let's take a look at how to do it 🙂
Segment Elements and Their Selection
You can find the segment control on the main page with active or churned customers, or on the statistics pages, in the top right corner. After clicking, the following overview will be displayed:
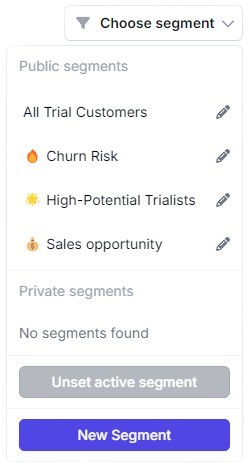
In this list, you will see all available segments added to your account by you or other users. Segments are classified as public (visible to all users of the account) and private (visible only to you). Once a segment is selected, it becomes active, as shown in the following image.

Please note that once a segment is active, it affects the entire application, including other data displays and actions like filtering. The segment will remain active until you click the "Unset active segment" button or select a different segment.
Example of Segment Influence
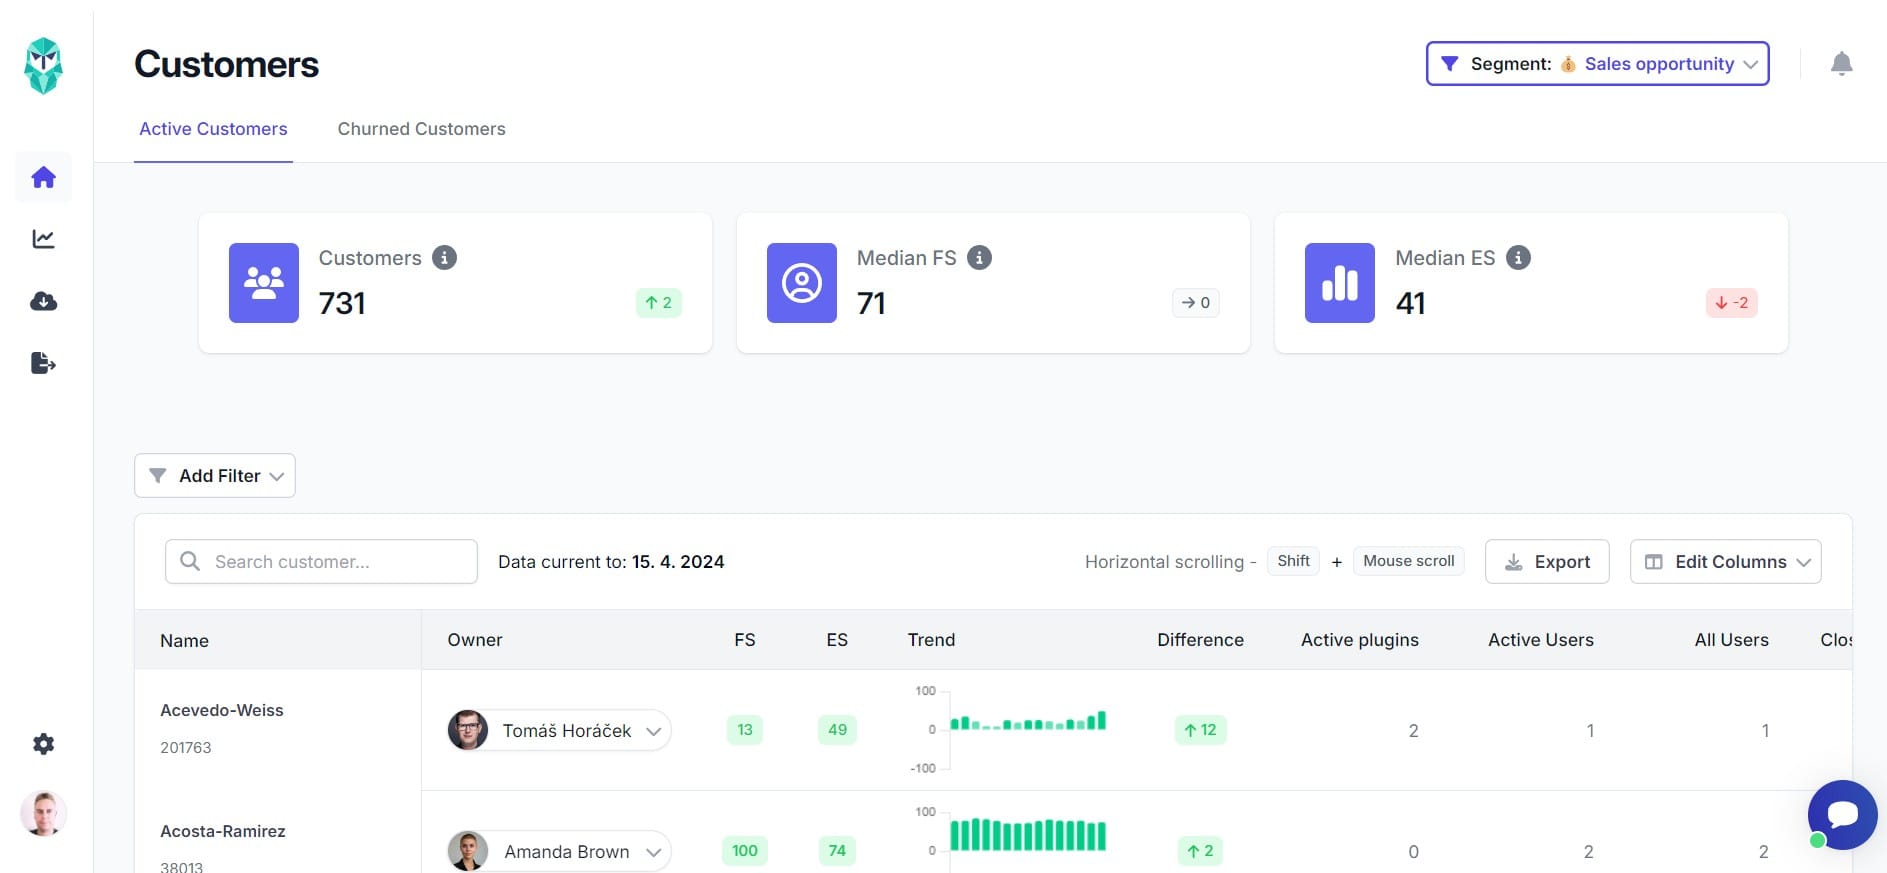
For example, if you select a segment named "Sales Opportunity" on the main page displaying active customers, this segment will influence the data shown in the table. It also affects the statistics at the top, including the total number of customers, median fit score, and median engagement score. On the statistics page, the active segment affects all high-level overview graphs and all graphs in the feature analysis section.
If no segment is active, data from all customers will be displayed.
Creating or Editing a Segment
You can edit segments by clicking the pencil icon or create new ones by clicking the "New segment" button. In both cases, the following form will appear:
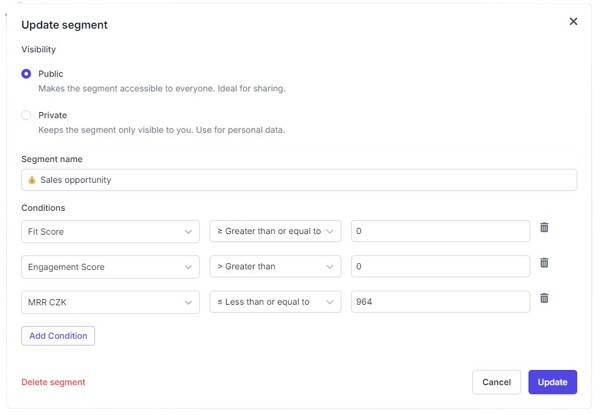
You can choose whether the segment will be visible to everyone (default) or only to you. You must give the segment a unique name within the account. Next, add conditions that define the segment. In the first field, select the filter for the segment, such as Engagement Score, Fit Score, or filtering by customer's owner. You can also choose from individual properties assigned to your account. In the second field, choose a logical operator. In the third field, enter the specific value the condition should filter by.
You can remove conditions by clicking the trash can icon or add more by clicking the "Add Condition" button. Up to 10 conditions can be assigned to one segment. You can also delete the segment by clicking the "Delete segment" button.
Our Recommended Types of Segments
Examples always speak for themselves. Let's look at an example from our demo company to set up several interesting segments that may also be useful for you.
- Sales Opportunity
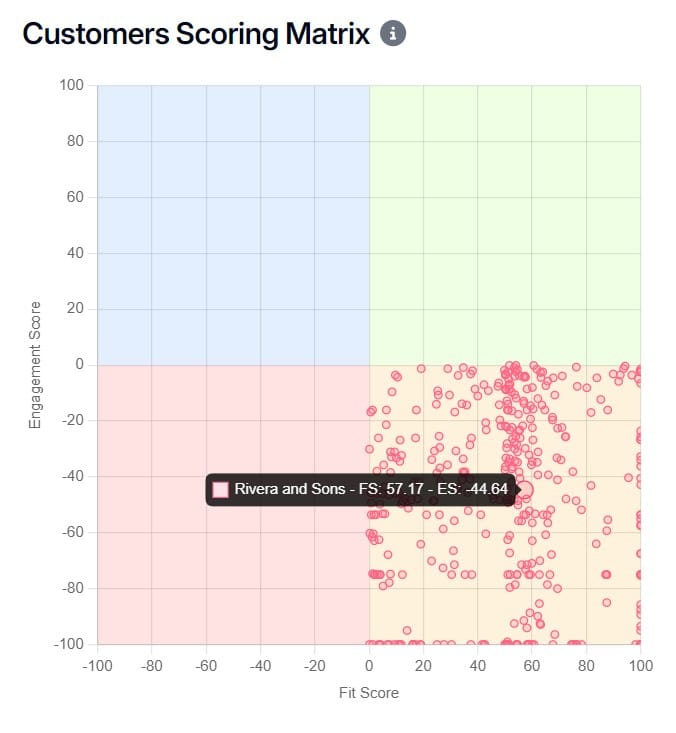
This segment focuses on customers with the greatest upselling potential. The conditions should be set approximately as follows:
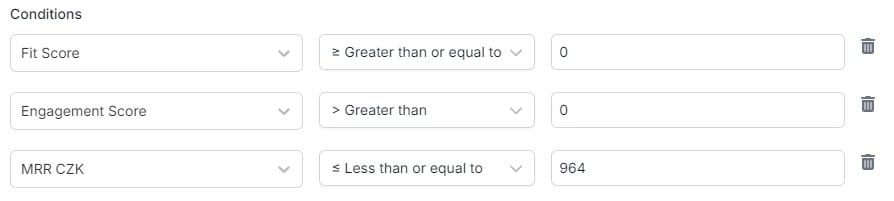
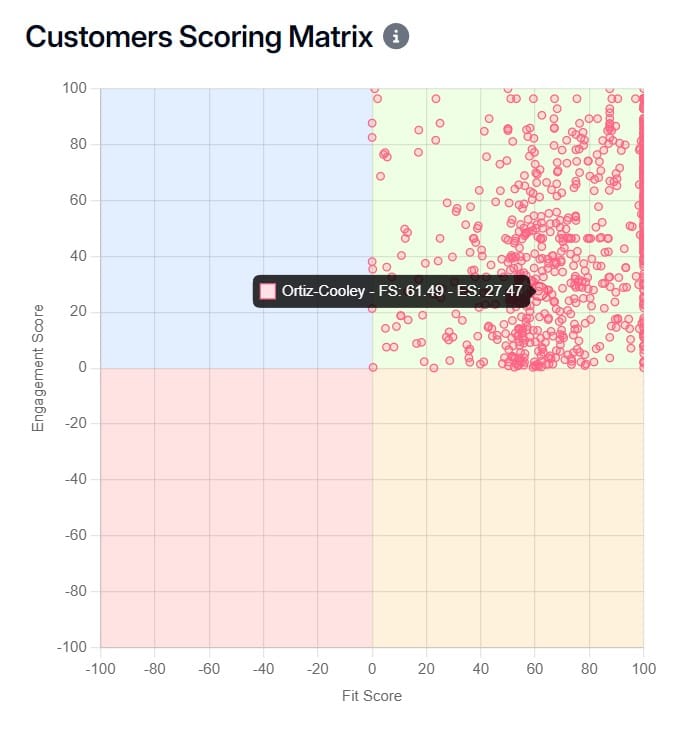
It involves selecting customers who fall into your fit status and sufficiently utilize your product. However, they are not paying you as much as they could. This segment will be displayed in your Customer scoring matrix approximately as follows:
- Churn risk
On the contrary, this segment focuses on customers who require the most attention because they are at risk of churn. The conditions would look as follows:
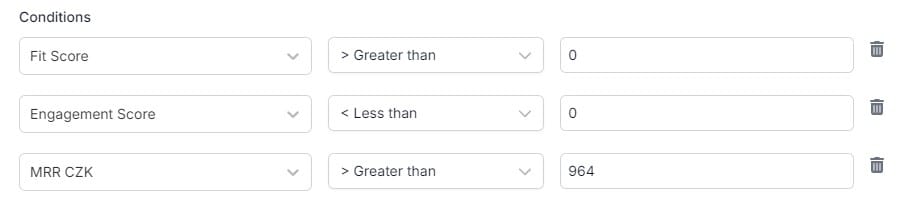
These customers are defined as those who meet your fit status sufficiently but do not fully utilize your product. However, they pay more for your product. These are the customers you really need to retain 😏 In your Customer scoring matrix, they will appear as follows: